Building a gaming PC can be an exciting and rewarding experience. However, it can also be quite overwhelming, especially if you’re on a tight budget. But fear not, because in this article, we will guide you through the process of building a budget gaming PC without breaking the bank. So let’s get started!
Choosing the Right Components
The first step in building a budget gaming PC is selecting the right components. The most important parts of a gaming PC include the CPU, GPU, RAM, storage, and power supply. It’s crucial to strike a balance between performance and cost to ensure you get the best value for your money.
CPU and GPU
When it comes to the CPU, consider going for an AMD Ryzen processor. They offer excellent performance at a reasonable price, making them ideal for budget builds. As for the GPU, NVIDIA’s GTX 1660 or AMD’s RX 580 are great options for gaming on a budget. They provide solid performance and can handle most modern games at 1080p resolution.
RAM and Storage
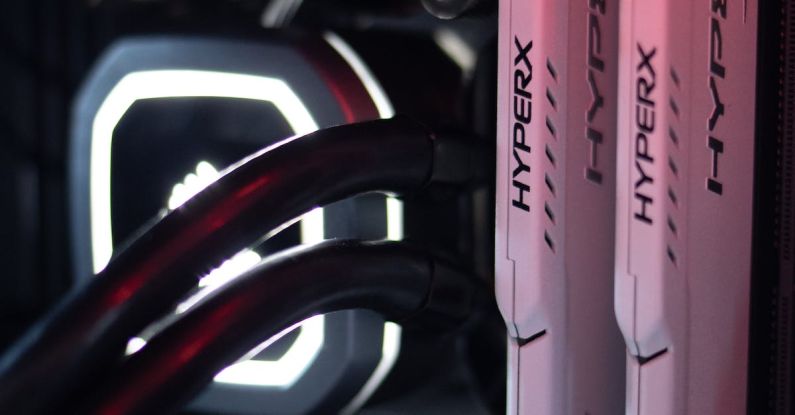
For RAM, aim for at least 8GB, although 16GB is recommended for a smoother gaming experience. When it comes to storage, a combination of a small SSD and a larger HDD is the way to go. Install your operating system and frequently played games on the SSD for faster load times, while using the HDD for additional storage.
Power Supply
Choosing a reliable power supply is vital to ensure the stability and longevity of your gaming PC. Look for a power supply with a reputable brand and a wattage that can accommodate your components comfortably.
Putting It All Together
Now that you have chosen your components, it’s time to put them together. Building a PC may seem intimidating, but it’s essentially like assembling a Lego set for adults. Just follow these steps, and you’ll have your budget gaming PC up and running in no time.
Step 1: Prepare your workspace by placing a soft cloth or mat to protect your components from static electricity.
Step 2: Install the CPU onto the motherboard by lifting the CPU socket lever, lining up the notches, and gently placing the CPU in place. Then, close the lever to secure it.
Step 3: Install the CPU cooler. Apply thermal paste to the CPU, then attach the cooler according to the manufacturer’s instructions.
Step 4: Install the RAM modules into the appropriate slots on the motherboard. Ensure they are firmly seated by applying equal pressure on both sides until you hear a click.
Step 5: Connect the storage devices, such as the SSD and HDD, to the motherboard using the appropriate cables.
Step 6: Mount the motherboard into the case using the provided screws. Make sure it is properly aligned and secured.
Step 7: Install the power supply into the case and connect the necessary cables to the motherboard, GPU, and storage devices.
Step 8: Install the GPU into the appropriate PCIe slot on the motherboard and secure it with screws if necessary.
Step 9: Connect the necessary cables, such as HDMI or DisplayPort, from the GPU to your monitor.
Step 10: Double-check all connections, ensure everything is properly seated and connected, and then close the case.
Conclusion: Get Ready to Game!
Building a budget gaming PC is a fun and cost-effective way to enjoy your favorite games without breaking the bank. By carefully selecting the right components and following the step-by-step instructions, you can have a powerful gaming machine that will provide hours of entertainment. So roll up your sleeves, get your tools ready, and start building your budget gaming PC today!